
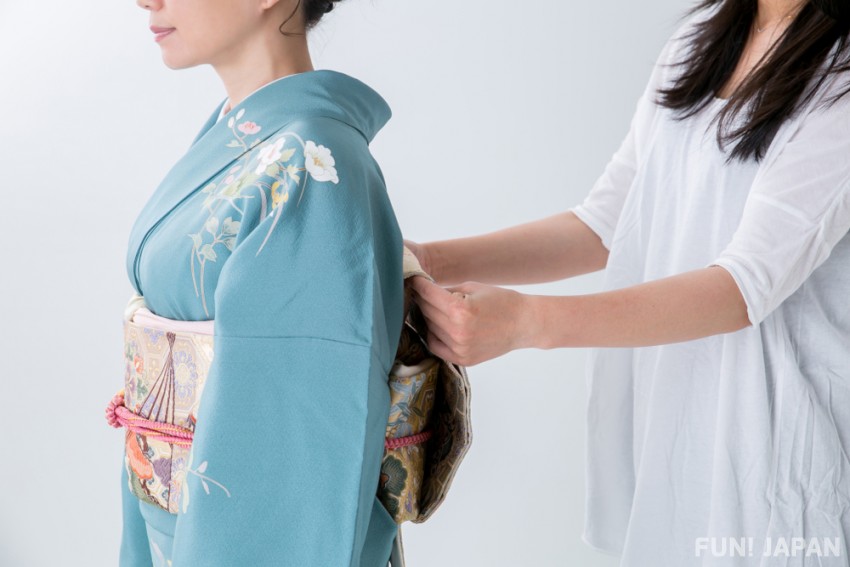
An obi (帯) acts as a belt for a kimono. How do you finish the kimono with just a long rectangular strip of cloth? This time, we will explain how to hold a kimono in place.
How to Tie a Fukuro-obi for Women's Kimono

How to Tie with Fukuro-obi (袋帯)
- Fold the obi in a loose concertina style on the floor in front of you. Then, take one end (we will call this A) in you right hand and wrap it around you just above your waist and hold it with your left hand, leaving about 50-60cm (a little more than an arm's length), spare.
- Fold this spare length of cloth (A) in half along its length and use your right hand to tuck a loop of it in between the obi and your waist, leaving the rest hanging down in front over the obi.
- Turn around to wrap the obi around your waist.
- Now fold the loose part of the obi (B) at the front diagonally upwards towards your left side and twist the short hanging end (A) around it, still leaving it to hang.
- Take the loose end of the obi (B) in both hands and fold it back on itself across the width of your body, forming a loose "Swiss roll" with the end in the center of the roll.
- Cinch the roll at the center with your fingers to create a bow shape and wind the hanging end (A) down over it and back up behind to create a "Two Mountains" knot just above the obi sash and arrange it to your liking. Tuck the loose end (A) in between the obi and your waist to hide it.
- Hold the obi at the front with one hand and the back with the other and turn it around 180 degrees so that the knot is now at the back.
- Check the kimono is smooth and even with your hands, and slide an obi-ita (obi-shaped board) in the front to keep the obi in place and prevent wrinkling. And that's it! You've tied your kimono by yourself!
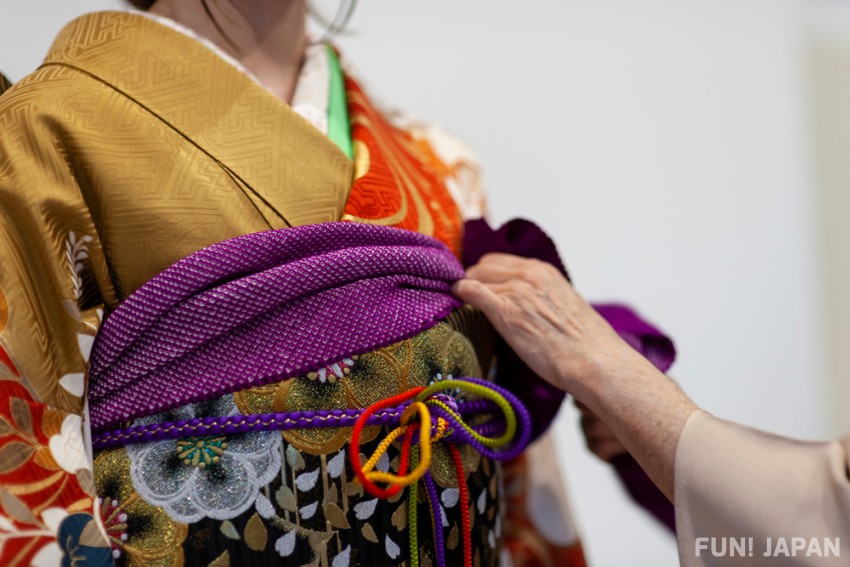
That is just one of the many ways to put on an obi and tie a knot. Others require the use of an ita-himo (仮紐 temporary string), an obi-makura (帯枕 obi pillow, for filling out a taiko knot), and an obi-age (cloth sash for decorating the top of the obi and holding the top of the knot in place). Accessories include the obi-jime (decorative cord belt for holding the obi in place), and obi-dome (decorative clip brooches that attach to the obi-jime.

13. Remove all temporary strings and arrange the obi-age.
How to Tie a Hanhaba-obi for Women's Yukata
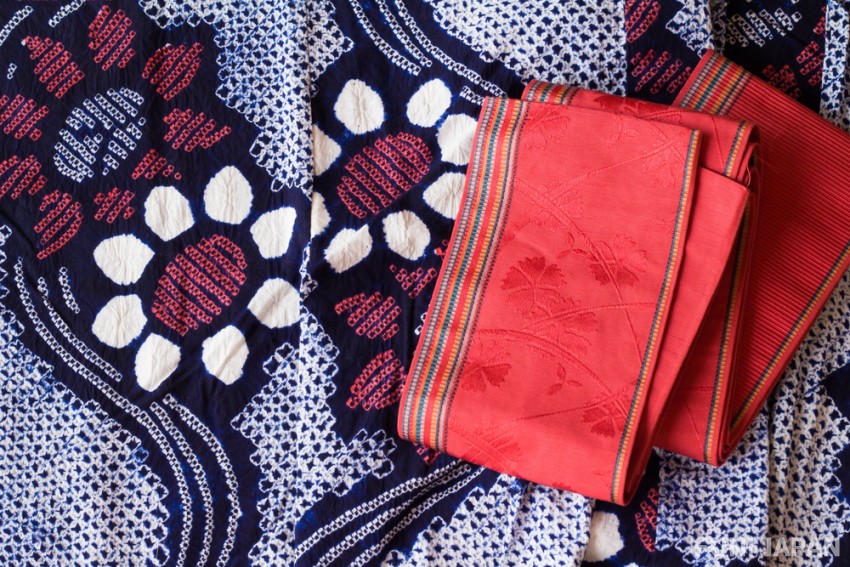
How to Tie with Hanhaba-obi (半幅帯)
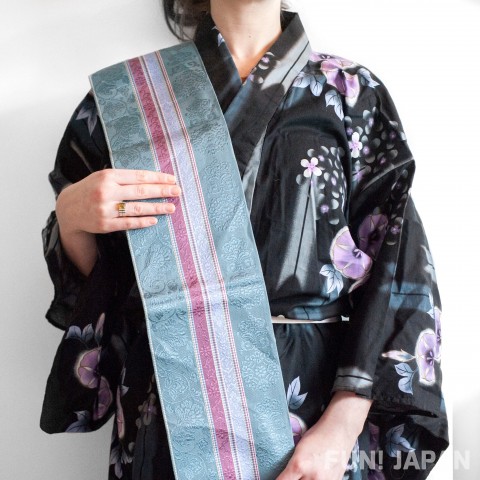
- Fold an arm's length section of the left end of the belt (let's call it A) in half.
- Wrap the rest of the obi (let's call it B) around the body.
- Fold the end of (B) into a triangle, stack (A) on top, and tie them tightly.
- Fold (B) inward so that the span is about the same as your shoulder width.
- Make a mountain fold exactly in the middle of the width.
- Lower the tip of (A) down and wrap it around the center of the fold. To prevent the folds from breaking, pull up firmly without releasing your left hand.
- Insert the remaining part of (A) between the obi and the kimono.
- Pull the inserted tip of (A) down through the obi, fold the tip that came out under the obi, and insert it inside the band.
- Hold the knot with your right hand and the bottom of the wrap with your left hand, and turn it clockwise to your back to complete.

How to Tie a Kaku-obi for Men's Kimono
- Fold a roughly 50 cm section of one end of the sash in half.
- Put the tip folded half on the left side of the body. At this time, make sure that the tip is about one fist-length closer to the back beyond mid-flank and the effect when it is completed will be beautiful.
- Wrap the obi around your body several times. The exact number will depend on both the size of the waist and the length of the belt. If there is still a length left over, fold it back in on itself to adjust the length.
- Take hold of the end of the obi that was first folded in half.
- Point the narrower end downward. Place the wide end over the folded portion.
- Tie both ends.
- Bend the narrow end up.
- Put the wide end on top and tuck it in the space between the obi and your body.
After shaping the knot, twist the sash clockwise so that the knot is on your back. Further adjust the shape and you are done.
Comments